Your first listing
This guide will walk you through the process of creating your first listing using the Depop Selling API.
Prerequisites
Before you start, make sure you have:
- A Testing API key. Our API is currently private and is not available to the general public. If you are interested in integrating with Depop, please contact us at [email protected], and we'll get back to you with the next steps.
- The latest version of Postman installed (11.50 or higher). You can use any client but this guide will use Postman as an example.
- A Postman account. If you don't have one, you can create one for free. Postman works slightly differently when you're logged in and this guide assumes you are logged in.
Step 1: Set up your Postman environment
Open Postman and do File > Import... and paste the following URL:
Here's a short GIF showing how to do this:
Warning
If you're an error when importing the OpenAPI spec then manually download the openapi.yaml file from here, then import the file from your computer instead.
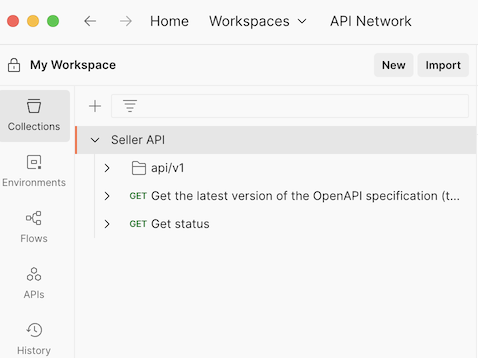
Find your collection in Postman under Collections on the left sidebar. It should be named Seller API as shown below:
Step 2: Configure Authentication
The API expects requests to have an Authorization header with the following format:
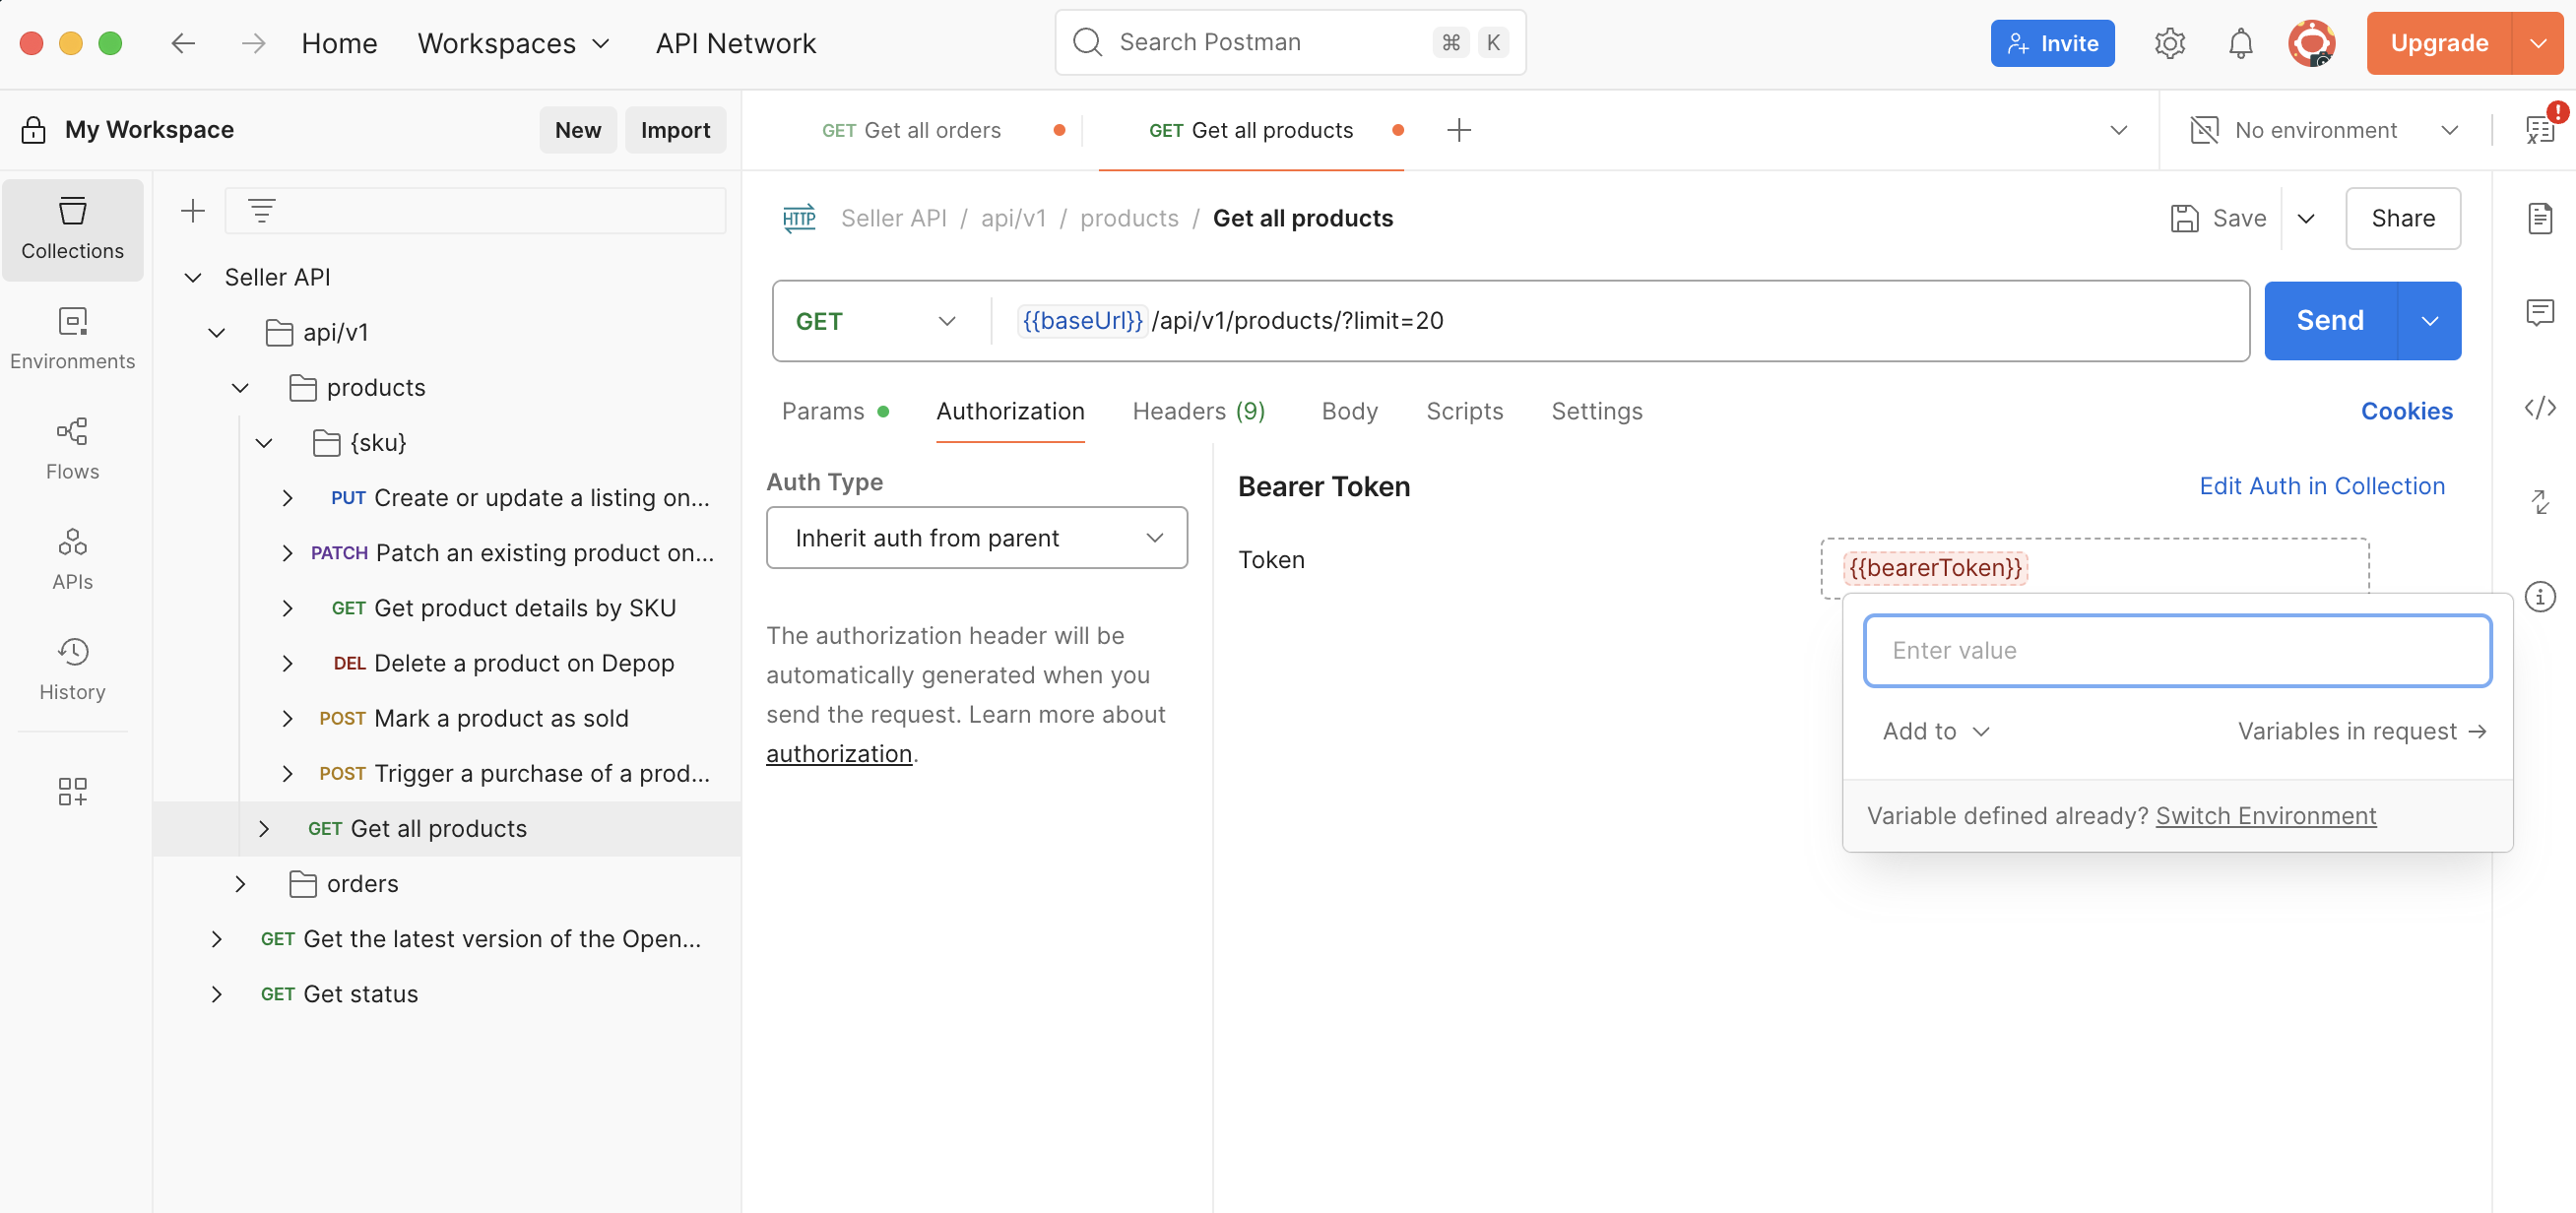
To configure this in Postman, follow these steps:
- Open the Seller API collection.
- Expand
api/v1>productsand select theGet all Productsrequest. - Underneath the URL, click on the Authorization tab.
- You should see Bearer Token auth type with
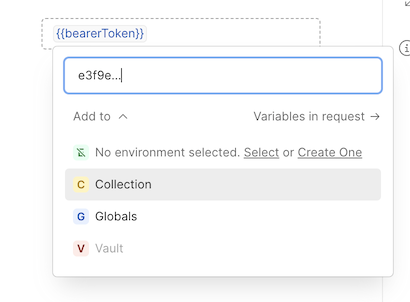
{{bearerToken}}field already present. If not, select Bearer Token from the dropdown and enter{{bearerToken}}in the field. - Now enter your API key by hovering over the
{{bearerToken}}.
Here's a screenshot showing how to do this:
Tip
Make sure you add the {{bearerToken}} variable to your Postman collection so it's shared across all requests.
If you don't want to set this up, that's ok but remember to do this for every endpoint you use next.
Step 3: Make your first request
Now that you have set up your Postman environment and configured the authentication, you can make your first request to the API.
Let's use the Get all Products request to see if everything is working correctly.
- In Postman, select the
Get all Productsrequest. - Make sure to uncheck the
limitandcursorquery parameters as we don't need them for now. - Click on the Send button.
You should see a response with an empty list of products. If you do, this means that you have successfully connected to the API and are ready to start creating listings. 🎉🎉🎉
Step 4: Create your first listing
So you have made your first GET request and everything is working. Now let's create your first listing.
-
In Postman, expand
api/v1>products>{sku}and select theCreate or update a listing on Depoprequest. Notice how the{sku}is a path parameter should already be configured toABC-12345-S-BL. This is an example SKU, you can use your own SKU here.Warning
If you see
<string>this might mean you don't have the latest Postman or not logged in. You can continue but keep in mind that you'll need to manually enter parameters and request bodies. -
You can inspect the Body tab to see the fields that are present.
Example body request
If you're not using Postman, you can use the following JSON body to create a listing:
    {
      "address": {
        "country_code": "GB",
        "state": "Greater London"
      },
      "description": "Vintage Nike T-Shirt in excellent condition.\nBlack with white swoosh logo on the front.\nSize medium, fits true to size.\nSmall mark on the left sleeve (see last image).\n\n#vintage #nike #streetwear #90s",
      "price_currency": "GBP",
      "price_amount": "25.99",
      "auto_send_offer_price": "20.00",
      "national_shipping_cost": "3.50",
      "international_shipping_cost": "12.00",
      "quantity": 1,
      "pictures": [
        {
          "url": "https://images.ctfassets.net/itoh30v6uh9a/3c1QQDGUAEHH9A76ovYSTA/1837e557daee3c763b6fbedd19785094/WW.jpg#type=cover-image"
        },
        {
          "url": "https://images.ctfassets.net/itoh30v6uh9a/3c1QQDGUAEHH9A76ovYSTA/1837e557daee3c763b6fbedd19785094/WW.jpg#type=back"
        },
        {
          "url": "https://images.ctfassets.net/itoh30v6uh9a/3c1QQDGUAEHH9A76ovYSTA/1837e557daee3c763b6fbedd19785094/WW.jpg#type=tag"
        }
      ],
      "department": "menswear",
      "product_type": "tshirts",
      "size_set_id": 52,
      "size_id": 10,
      "condition": "used_excellent",
      "colour": [
        "black",
        "white"
      ],
      "style": [
        "streetwear",
        "retro",
        "sportswear"
      ],
      "age": [
        "90s"
      ],
      "source": [
        "vintage",
        "preloved"
      ],
      "brand": "nike",
      "attributes": {
        "sleeve-length": [
          "short"
        ],
        "material": [
          "cotton"
        ],
        "occasion": [
          "casual"
        ]
      }
    }
Now hit the Send button. Because the SKU ABC-12345-S-BL doesn't exist yet, this will create a new listing.
If the request is successful, you should see a response like this:
Well done! You have successfully created your first listing using the Depop Selling API. 🎉
Step 5: Update your listing
In the previous step, you've made a PUT request to create a listing for the ABC-12345-S-BL SKU.
Let's first confirm that the listing was created successfully.
- In Postman, expand
api/v1>productsand select theGet product details by SKUrequest. - Make sure the SKU is set to
ABC-12345-S-BL. - Click on the Send button.
You should get a response with the complete product details.
Now let's update the description. To do that, you use the exact same PUT endpoint that you've used to create the listing, since it's an upsert operation (create or update).
Confirm that the listing has the new description by using the Get product details by SKU again.
Next steps
Now that you have created your first listing, you should review the fields more closely and understand how to use them effectively. The API Reference documentation provides detailed information about each field and its purpose.
We also recommend reviewing our Taxonomy documentation to understand how to use the department, product_type, size_set_id and size_id.
If you want to keep going and exploring the rest of the API, please continue to the Your first sale guide, where you'll learn how to simulate a purchase and retrieve the order details.